
To access the applications users must have a user profile created first.
It is not good practice to allow users to share login details as all transactions made in the system are logged and attributed to the user that made the transaction.
All users should be set up individually and have unique log-on details.
1. Click on the Users icon in the Areas section of the screen.

2. Click User under the heading of New in the Shortcuts Menu.
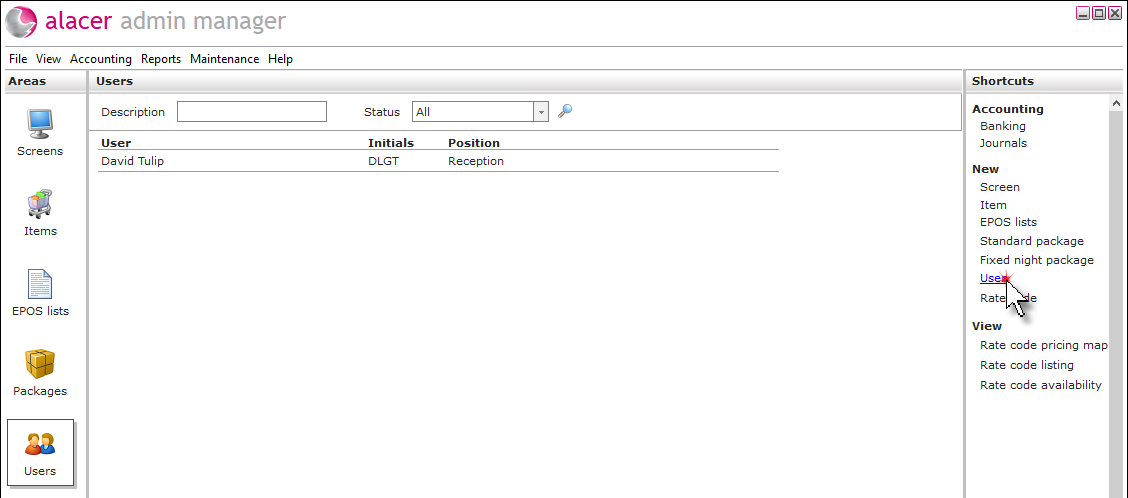
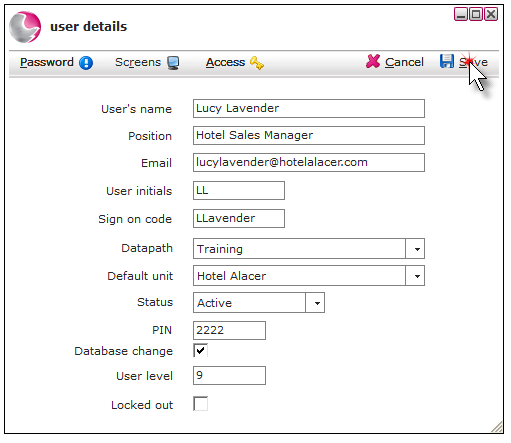
3. Complete the User details form, the fields marked with a red dot are mandatory.
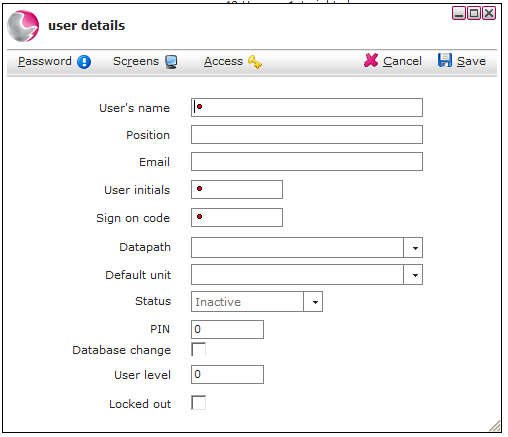
User's Name: Enter the first name and surname of the user
For example: Lucy Lavender.
Position: Enter the role/job title of the user
For example: Receptionist.
Email: Enter the email address of the user. The email entered will be used to reset forgotten passwords from the web applications.
User initials: Enter the user's initials
For example: LL
If there are 2 employees who have the same user initials, middle names can be used e.g. LVL. to distinguish the individual user.
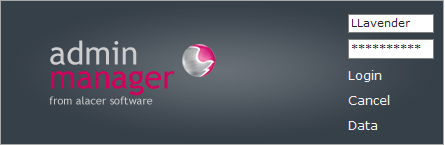
Sign on Code: This is the name that will be entered to log in to the applications, usually the first initial and last name of the employee is used
For example: LLavender
Datapath: Select the name of the business from the drop-down list.
Default Unit: Select the name of the business from the drop-down list.
Status: Change the status to Active if the user login details are to be made available for immediate use. Change the status as Inactive if the new user has been created in advance for a new starter or an employee has left the company.
Pin: Pin codes are used to log in to the EPOS system and make changes within the applications i.e. deleting items. Enter the 4 digit pin code the employee will use, this can be any unique code between 1000 and 9999. The system will display a warning message if the number entered has already been assigned to another user.
Database Change: Tick if the user is required to switch between databases
For example: the training database and the active database.
User Level: Each user will have a user level. This is not related to their access level for each application. It controls who can make changes to other users' profiles
For example: A user with access level 5 can only make changes to another user who has a lower user level than themselves (1-4).
This also means users will not be able to give themselves access to applications; this must be done by a user with a higher user level and the required security elements.
We recommended at least one user on each site has a higher level than everybody else this will allow them to make changes to all users and unlock any users who have been locked out.
Locked Out: For security reasons, when a user is locked out from any of the applications their account will need to be unlocked by another user that has the appropriate security element. This user will need to have an equal or higher user level than the user that has been locked out.
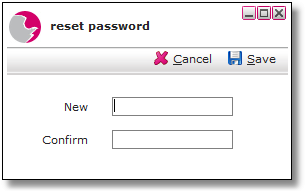
4. Click Password.
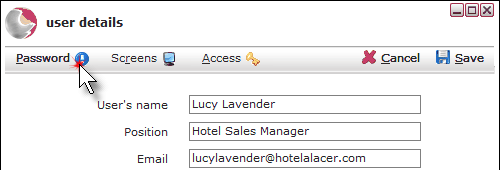
5. Enter the user's new password and enter it again to confirm it. This should be at least 8 characters long and contain a capital letter and a number. Click Save.
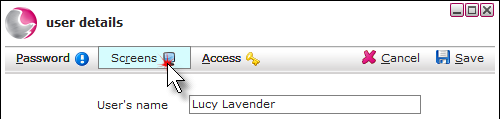
6. Click Screens. This step is required if the user will have access to the EPOS application if they do not skip to the next step.
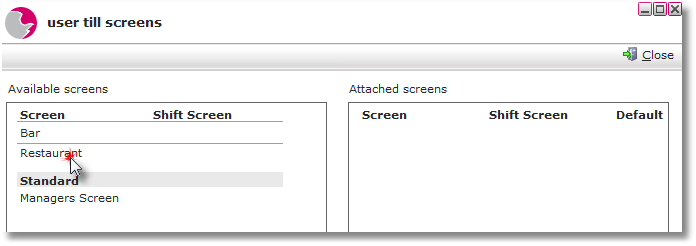
7. The available screens will be displayed on the left. Click on the screens the user will need access to.
The Managers Screen is usually only accessed by senior members of the team as it has special functions on the tills that may not be required to be performed by all team members.
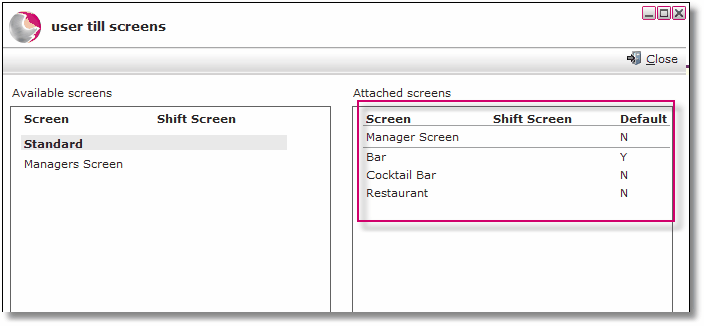
8. This will move the screen to the attached screens section.
The first screen selected will default to Y which means that it will be the first screen displayed when the user log's on. To change the default screen right-click and select the Make Default option.
9. Click Close.
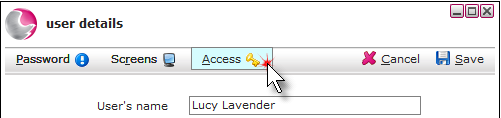
10. Click Access. This section is used to give users access to the available applications.
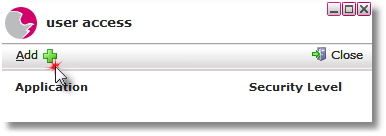
11. Click on Add.
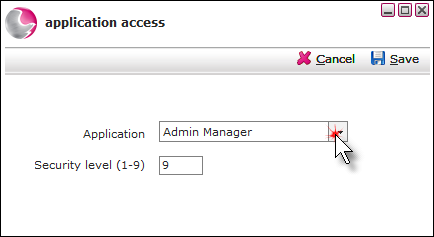
12. Select the applications from the drop-down menu and enter the application level, 9 is the highest level. Click Save.
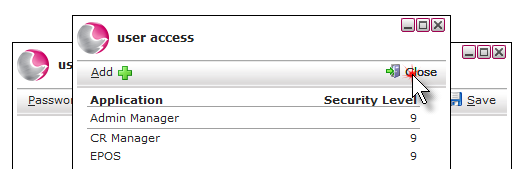
13. When all of the required applications have been added, Click Close.
14. Save the user details form.
15. Once the new user has been created they can be added to the relevant security profiles.
See next: How to Add a User to Security Profile
How to Add/Remove Application Access